How to implement Tab bar controller in Xamarin iOS.

Tabbed applications are used in iOS to support user interfaces where multiple screens can be accessed in no particular order. Through the UITabBarController class, applications can easily include support for such multi-screen scenarios. UITabBarController takes care of the multi-screen management, allowing the application developer to focus on the details of each screen.
The UITabBarController supports tabbed application development by the following:
- Allowing multiple controllers to be added to it.
- Providing a tabbed user interface, via the UITabBar class, to allow a user to switch between controllers and their views.
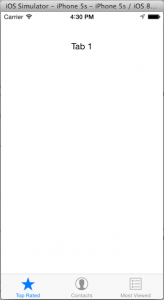
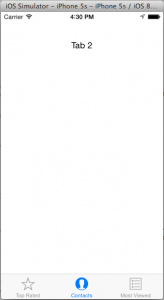
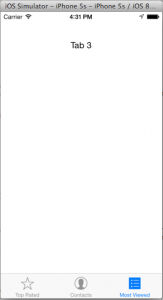
After finishing our demo it will look like this:
Start Coding
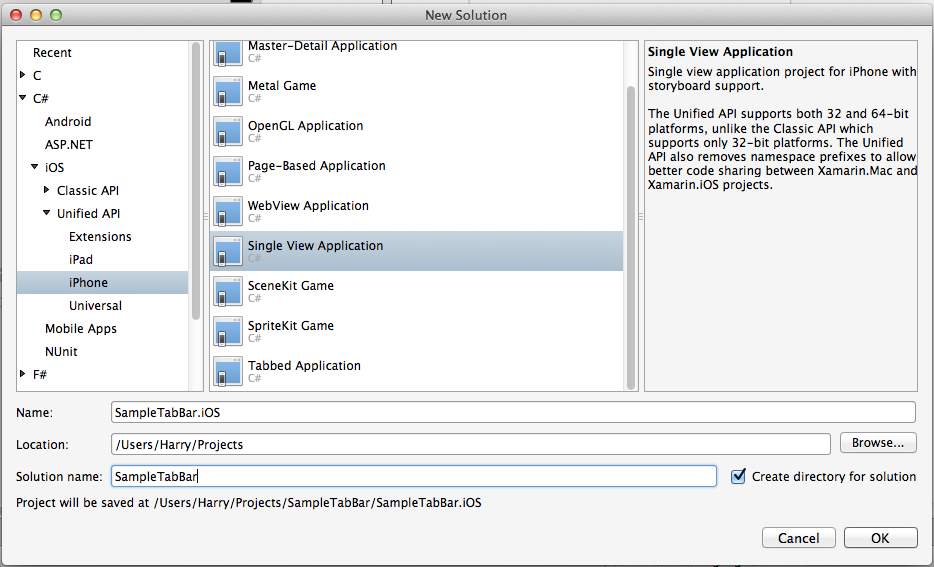
For this tutorial we are going to create a new solution and give it name as “SampleTabBar.iOS”, select C#->iOS->Unified API->iPhone
Now go to the storyboard of the solution and you will find a default view controller, select and delete it.
Now go to the Toolbox and find Tab Bar Controller in that, just drag and drop the Tab Bar Controller. In the property window of Tab Bar Controller don’t forget to select “Is Initial View Controller”.
In the storyboard it will look like this:
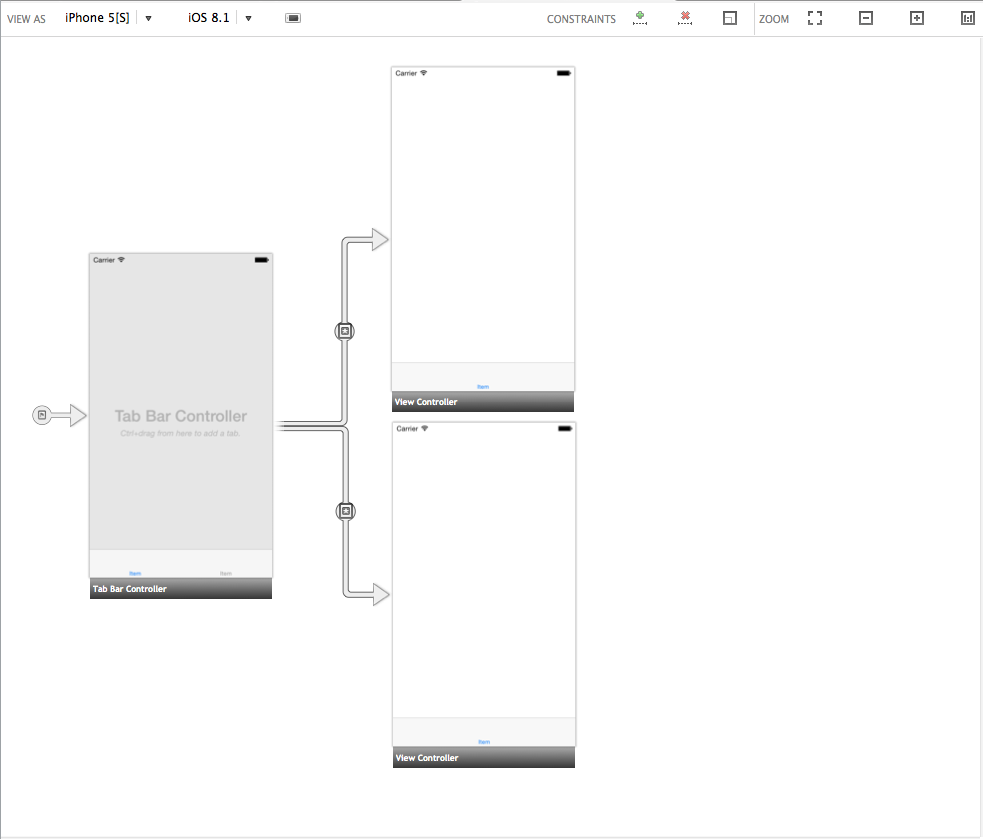
If you try to run the application it will work perfectly OK. But we are going to add some other things that are useful in Tab based applications.
Add 1 label to both the view controller and set it’s text property to Tab 1 and Tab 2 respectably.
Now select the tab bar item in view controller in that go to the property->Tab bar item->System Item, here you can set your custom text for display on tab bar or you can use system text and images. We are going to use its system images and text.
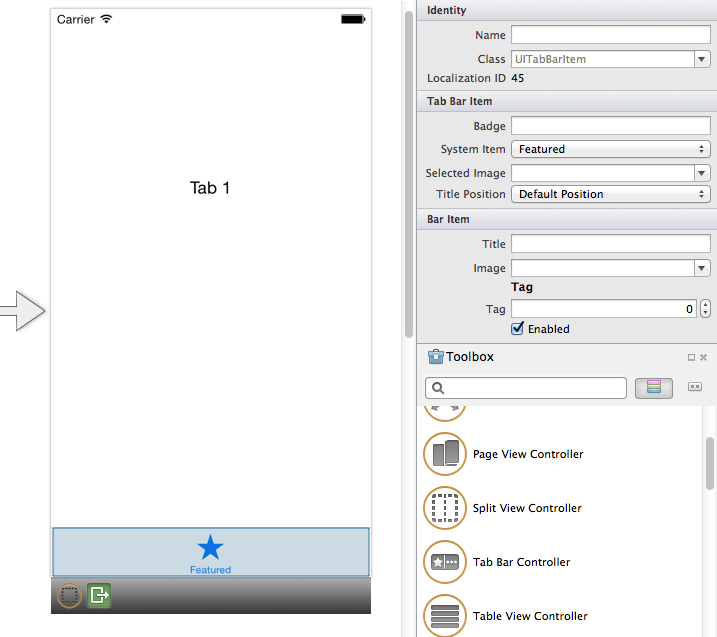
Do this on both the view controller.
Now we are going to add a new view controller and bind it with the tab bar controller.
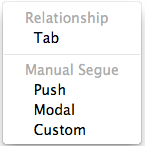
For this add a view controller into the storyboard, press ctrl and drag mouse from tab bar controller to the view controller. When you release the mouse it will ask for relationship select “Tab”.
Now your storyboard will look like:

Now try to build and run your app, you will see now you can transfer from one view to another.
Leave a Reply