How to create Action sheets using Xamarin.Forms

All mobile applications, no matter what they are about, they have one common and obvious characteristic: They offer interaction, which means that they are not static, but require input or actions needed to be taken by users from time to time in order to function properly.
Action sheets consist of a really convenient and fast way to display a bunch of options that the user should select from, and it is widely used in great number of applications.
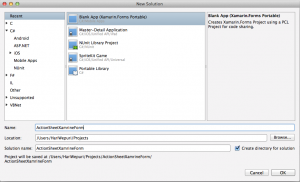
- First create a new solution and name it as “ActionSheetXamarinForm” .
- First of all we go to “ActionSheetXamarinForms.cs” and add the following code inside the constructor.
1234public App (){MainPage = new NavigationPage (new ActionSheetPage ());}

- Above line of code will set “ActionSheetpage” as the main page and add a Navigation Bar to the main page.
- Navigation Bar is neccessory to invoke “DisplayActionSheet” it will not work without adding it.
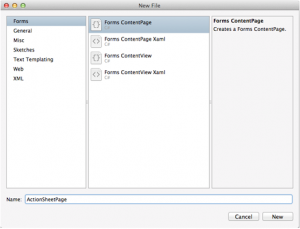
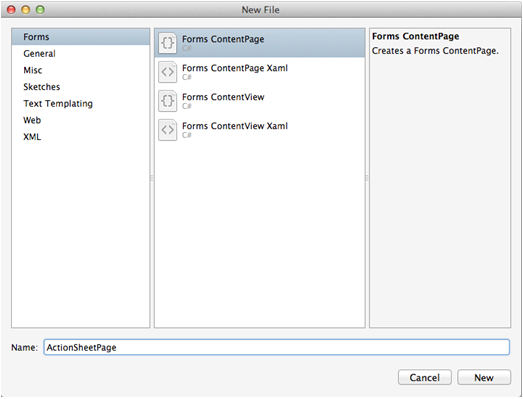
- Create a new file and name it as
- Now add one label and two button inside the constructor the code for it is as follows
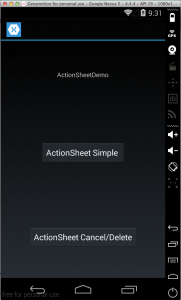
123456789101112131415161718192021var label = new Label{Text = "ActionSheetDemo",VerticalOptions = LayoutOptions.CenterAndExpand,HorizontalOptions = LayoutOptions.CenterAndExpand,};var btn1 = new Button{Text="ActionSheet Simple ",VerticalOptions = LayoutOptions.CenterAndExpand,HorizontalOptions = LayoutOptions.CenterAndExpand,};var btn2 = new Button{Text="ActionSheet Cancel/Delete",VerticalOptions = LayoutOptions.CenterAndExpand,HorizontalOptions = LayoutOptions.CenterAndExpand,};
- The above code will create one label and two buttons.
- The main task is to create and display an actionsheet while the button is being clicked so we have to apply a click event on both the buttons add the following code to create a actionsheet in click event of the button.
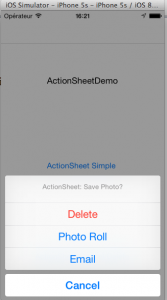
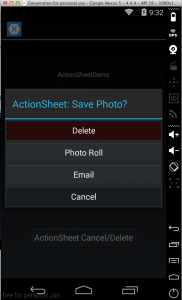
123456789101112131415161718btn1.Clicked += async (sender, e) =>{var action = await DisplayActionSheet ("ActionSheet: Send to?","Cancel", null, "Email", "Twitter", "Facebook");};btn2.Clicked += async (sender, e) =>{var action= await DisplayActionSheet ("ActionSheet: Save Photo?","Cancel","Delete","Photo Roll","Email");};
- Now that we have created the click events for the button. Its time to add the label and the button as the children of the “ActionSheetPage”
1234567Content = new StackLayout{Children ={label,btn1,btn2}};
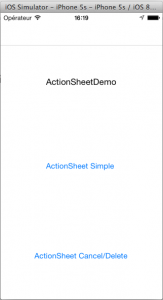
Now we have finished with the application run you app in both android and ios simulator and test them.
Simulator for android and iOS will look like below.
Android simulator will look like below
If you like this tutorial then you can download full copy of the code from github.
Leave a Reply