How to Create a Simple TableView App in Xamarin iOS app.

Table View is one of the common UI elements in iOS apps. Most apps, in some ways, make use of Table View to display list of data. The best example is the built-in Phone app. Your contacts are displayed in a Table View. Another example is the Mail app. It uses Table View to display your mail boxes and emails. Not only designed for showing textual data, Table View allows you to present the data in the form of images. The built-in Video and YouTube app are great examples for the usage.
After we complete our sample app it will look like this:

Create Sample Project:
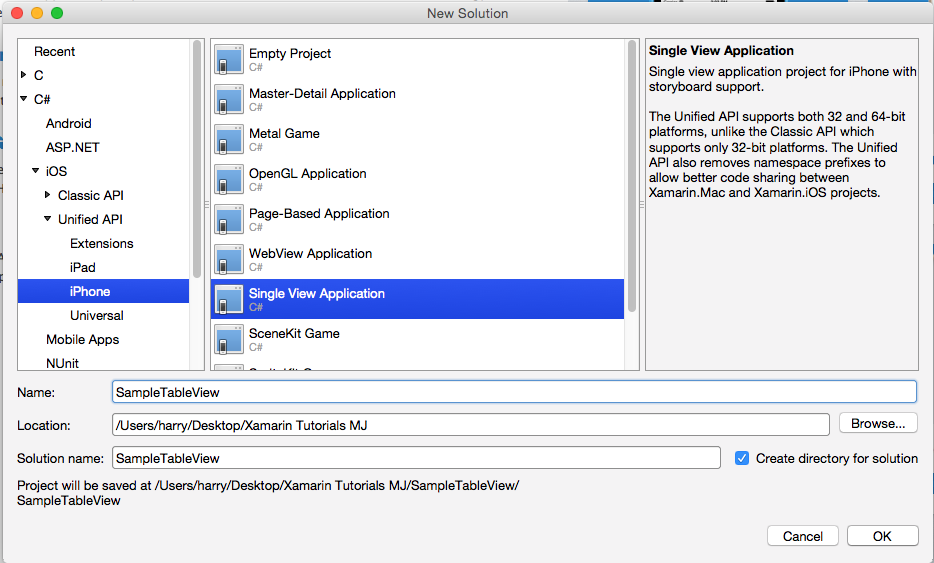
Open Xamarin and select New Solution

Select iOS inside C# and iPhone Unified API, we are going to develop a single view application so select it. Give this project name SampleTableView:
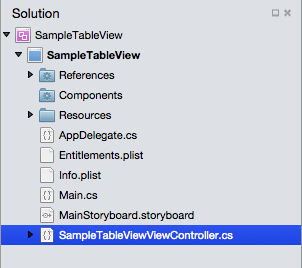
in the newly created project we have some default files and a storyboard that we are going to use further in our sample application
Now open MainStoryboard.storyboard and drag and drop TableView from ToolBox and give it name=”tableData”:

For assigning data to the TableView we need a source class that pass data and information like how many rows and which type of cell we are going to use for TableView.
For that we are going to use implementation of UITableViewSource and assign it to the UITableView.
There are only two mandatory methods to make a table display data:
RowsInSection – return an nint count of the total number of rows of data the table should display
GetCell – return a UITableCellView populated with data for the corresponding row index passed to the method.
For adding this file into your project go to the solution and select add new file:
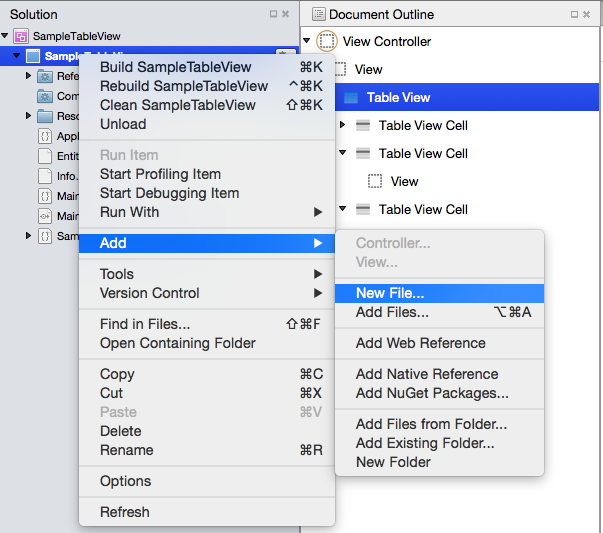
Now select General and Empty Class, give it name TableSource. It will create a blank file that we are going to use as Table Source.

Find this TableSouce file from solution and open it.
We need to implement UITableViewSource file into our TableSource file, For that:
1) Import UIKit into TableSource file with “using UIKit”
2) Now you can add UITableViewSource to your file and implement its methods : RowsInSection and GetCell
3) Declare a string array named tableData and a string variable named cellIdentifier.
In TableSource method insert a string array parameter:
|
1 2 3 4 |
public TableSource (string[] items) { tableData = items; } |
4) Now in RowInSection:
|
1 2 3 4 |
public override nint RowsInSection (UITableView tableview, nint section) { return itemData.Length; } |
5) In GetCell method:
|
1 2 3 4 5 6 7 8 9 |
public override UITableViewCell GetCell (UITableView tableView, Foundation.NSIndexPath indexPath) { UITableViewCell cell = tableView.DequeueReusableCell (cellIdentifier); // if there are no cells to reuse, create a new one if (cell == null) cell = new UITableViewCell (UITableViewCellStyle.Default, cellIdentifier); cell.TextLabel.Text = itemData[indexPath.Row]; return cell; } |
Now our file look like this:
|
1 2 3 4 5 6 7 8 9 10 11 12 13 14 15 16 17 18 19 20 21 22 23 24 25 26 27 28 |
using System; using UIKit; namespace SampleTableView { public class TableSource : UITableViewSource { string[] itemData; string cellIdentifier = "TableCell"; public TableSource (string[] items) { itemData = items; } public override nint RowsInSection (UITableView tableview, nint section) { return itemData.Length; } public override UITableViewCell GetCell (UITableView tableView, Foundation.NSIndexPath indexPath) { UITableViewCell cell = tableView.DequeueReusableCell (cellIdentifier); // if there are no cells to reuse, create a new one if (cell == null) cell = new UITableViewCell (UITableViewCellStyle.Default, cellIdentifier); cell.TextLabel.Text = itemData[indexPath.Row]; return cell; } } } |
To use this subclass, the sample file SampleTableViewViewController.cs creates a string array to construct the source then assigns it to a UITableView instance. The SampleTableViewViewController ViewDidLoad method looks like this:
|
1 2 3 4 5 6 |
public override void ViewDidLoad () { base.ViewDidLoad (); string[] itemData = new string[] {"Vegetables","Fruits","Flower Buds","Legumes","Bulbs","Tubers"}; tableData.Source = new TableSource (itemData); } |
Now try to build and run the app. If you done all the things right it’ll look like this:
If you like this tutorial then you can download full copy of the code from github.
Leave a Reply