How to use ImageView and Labels in Xamarin iOS.

It’s very easy to user ImageView and Label directly with storyboard at design time, but how to use this controls at runtime or change its property through coding. In this tutorial we are going to see how to use this controls at coding side.
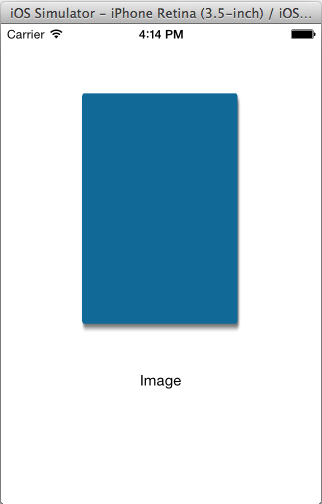
After completion of this demo it’ll look like this:
Create a new Solution in Xamarin studio and give it any name and select Single Screen Application.

Now just drag and drop a ImageView and Label Control on View hierarchy, now it looks like this:
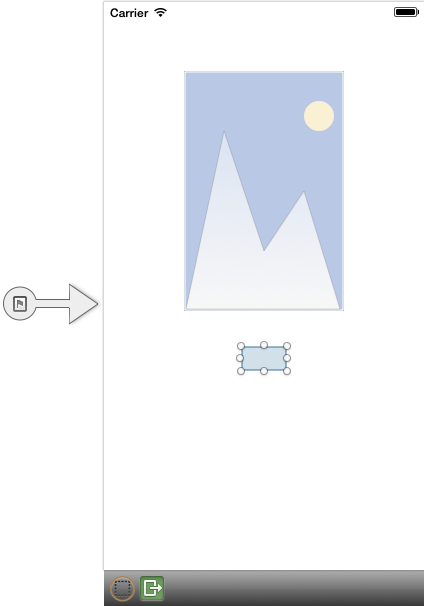
In ImageView name property write imageView and in Label name property write lbl_name.
Now go to your controller.cs file and in ViewDidload method write:
|
1 2 |
imageView.Image = UIImage.FromBundle ("image1.png"); lbl_name.Text = "Image"; |
That’s it. With this you can write any text to label runtime with coding or select image runtime with imageview control.
If you like this tutorial then you can download full copy of the code from github.
Leave a Reply